Table of Contents
Introduction
Adding Plugins in WordPress: Plugins are the reason WordPress can be both simple for beginners and powerful for professionals. A plugin extends your site with features like contact forms, SEO tools, security, backups, page builders, and e commerce. This guide will walk you through everything: how plugins work, how to safely add them, recommended plugins, common problems and fixes, and best practices.
What is a WordPress plugin
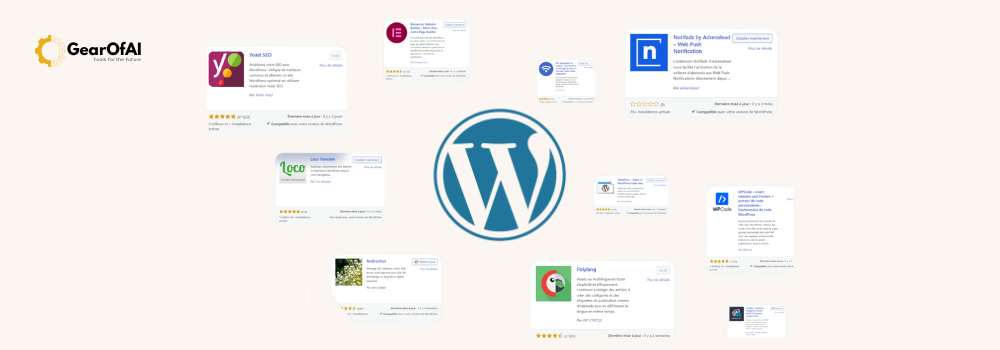
A plugin is a package of code that adds specific functionality to a WordPress site without editing core files. WordPress has thousands of free plugins in the official directory and many premium plugins sold by third parties. Examples: Yoast SEO, Elementor, WooCommerce, UpdraftPlus, Wordfence.
Before you start – quick checklist
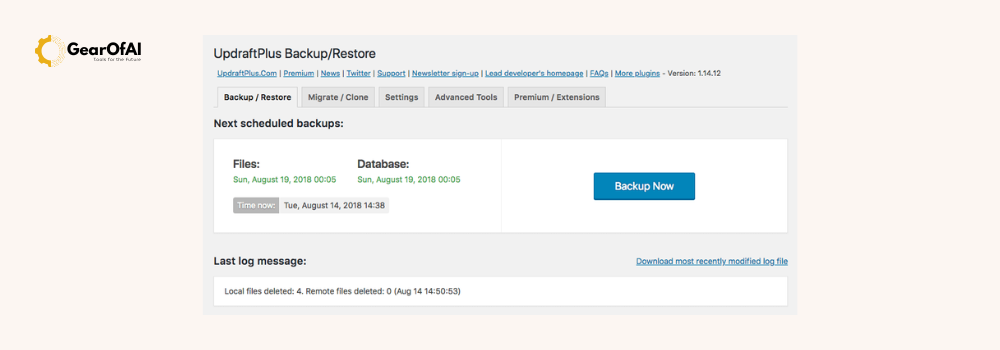
- Make a full backup of your site. Use a plugin like UpdraftPlus or your host backup tool.
- Ensure you have admin access to the site.
- Put the site in staging mode if you have a staging environment. This prevents live users from seeing changes while you test.
- Note plugin compatibility with your WordPress version and PHP version.
How to add plugins in WordPress – three methods
Method 1: Install from WordPress dashboard (recommended for most users)
- Log in to your WordPress dashboard at yourdomain.com/wp-admin.
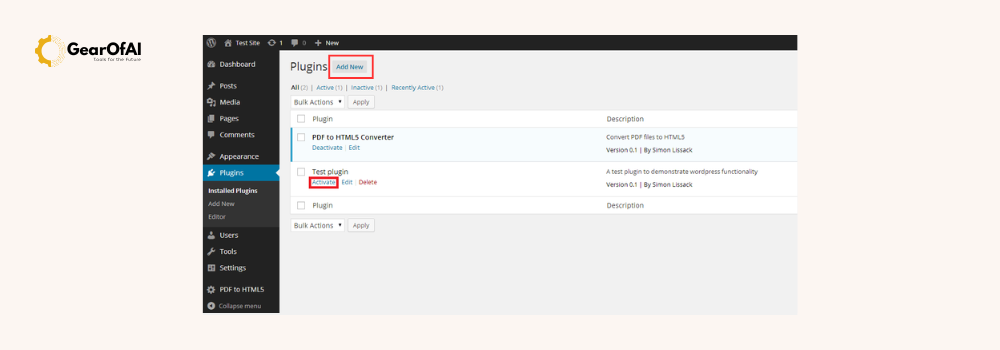
- In the left menu choose Plugins > Add New.
- Use the search box to find a plugin by name or keyword. For example search “Yoast SEO” or “contact form”.
- Review the plugin card details: active installations, last updated, compatibility, and ratings. These tell you if the plugin is maintained and safe.
- Click Install Now. After installation finishes click Activate. The plugin is now installed and active.
- Configure plugin settings. Most plugins add a settings page under Settings, Tools, or their own menu in the dashboard.
Code example (WP-CLI alternative):
# Install and activate a plugin via WP-CLI
wp plugin install contact-form-7 --activate
Method 2: Upload a plugin zip file
Use this when you bought a premium plugin or downloaded a third party plugin zip.
- Plugins > Add New > Upload Plugin.
- Click Choose File and select the plugin zip from your computer.
- Click Install Now, then Activate.
- Configure settings as required.
Note: Only upload plugins from trusted sources. Unverified plugins may contain malware.
Method 3: Manual install via FTP (advanced)
Use FTP or your host file manager when dashboard install fails.
- Unzip the plugin locally.
- Use an FTP client (FileZilla) to connect to your server.
- Upload the plugin folder to
/wp-content/plugins/. - In WordPress dashboard go to Plugins and click Activate for the uploaded plugin.
Recommended plugin categories and examples
- SEO: Yoast SEO or Rank Math. These handle meta tags, XML sitemaps, and on page analysis.
- Performance / Caching: WP Rocket (premium) or LiteSpeed Cache or W3 Total Cache.
- Security: Wordfence or Sucuri.
- Backups: UpdraftPlus or BackWPup.
- Page builder: Elementor or Beaver Builder.
- Forms: WPForms or Contact Form 7.
- E commerce: WooCommerce.
- Image optimization: Smush or ShortPixel.
- Schema / Rich snippets: Schema Pro or Rank Math built-in schema.
How to configure a plugin safely
- Read the plugin documentation first. Official docs often show recommended settings.
- Make minimal changes and test one setting at a time.
- Use staging environment to test major plugins like page builders or caching plugins.
- Keep a note of default settings so you can revert if needed.
Example: Basic Yoast SEO setup
- After activation go to SEO > General > Configuration Wizard and follow steps.
- Add site name, company info, and choose content types to be indexed.
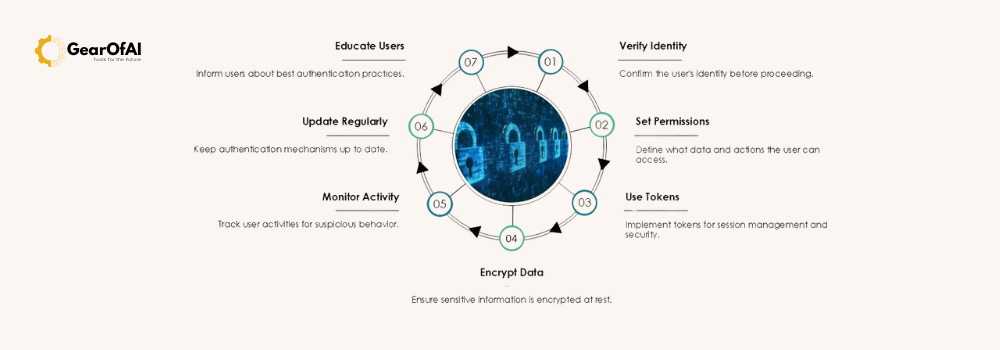
Security and compatibility best practices
- Only install plugins you need. Every plugin adds code and potential risk.
- Check last updated date and active installations. Avoid plugins not updated for more than 1 year.
- Check reviews and support threads for common issues.
- Limit the number of high-impact plugins (e commerce, page builder, security).
- Keep WordPress core, theme, and plugins updated. Updates include security patches.
How to remove or deactivate a plugin
- Plugins > Installed Plugins.
- Click Deactivate. If you no longer need it click Delete.
- Some plugins leave data in the database after deletion. Check the plugin docs for “clean uninstall” instructions to remove leftover tables or options.
Tip: Deactivate and test site functionality before deleting if unsure.

Troubleshooting common plugin problems
Issue 1: White screen of death after activation
- Activate WP Debug in wp-config.php:
define( 'WP_DEBUG', true );
define( 'WP_DEBUG_LOG', true );
- Check
wp-content/debug.logfor errors. - Deactivate the plugin via FTP by renaming its folder.
Issue 2: Plugin conflict or site breaking
- Deactivate all plugins and reactivate them one by one to identify conflict.
- Switch to default theme to ensure the problem is not theme related.
Issue 3: Slow site after plugin install
- Use Query Monitor plugin to identify slow plugins.
- Consider replacing heavy plugins with lightweight alternatives. For example use native block editor instead of a heavy page builder for simple pages.
Performance tips when using plugins
- Use a caching plugin and a CDN to offset plugin overhead.
- Avoid multiple plugins that do the same job. For example do not run two SEO plugins.
- Use asset optimization plugins or lazy load images to reduce load.
- Use lightweight plugins and keep plugin count reasonable.
How to choose premium vs free plugins
Free plugins are great for most needs and you can find many in WordPress.org. Premium plugins often provide:
- Priority support
- Regular feature updates
- Better performance optimizations
- Extended functionality like templates and integrations
If a plugin is critical to your business (store, bookings, memberships) consider premium for reliability and support.
Recommended post-install checklist
- Configure plugin settings and integrate with services if needed (API keys, SMTP, analytics).
- Test on mobile and desktop.
- Run a speed test to evaluate impact.
- Check for JavaScript console errors in browser developer tools.
- Schedule regular backups.
Useful external resources
- Official WordPress Plugin Directory: https://wordpress.org/plugins
- WordPress Codex on Plugins: https://wordpress.org/support/article/adding-plugins/
- WPBeginner plugin tutorials: https://www.wpbeginner.com/
Internal link suggestion: Link to your Tutorials category or WordPress series page, for example https://gearofai.com/category/tutorials
Final notes and best practice summary
Adding plugins in WordPress unlocks powerful features, but you must be deliberate. Use the WordPress dashboard for simple installs, always backup first, check compatibility, and test in staging when possible. Keep plugins updated and remove unused ones. A secure and optimized plugin strategy will keep GearOfAI fast, secure, and effective.
If you want, I can prepare a short PDF checklist you can follow every time you install a plugin. I can also audit your installed plugins on GearOfAI and suggest replacements that improve speed and security. Email me at info@gearofai.com or tell me now which plugins you currently use and I will review them.