Table of Contents
Introduction:
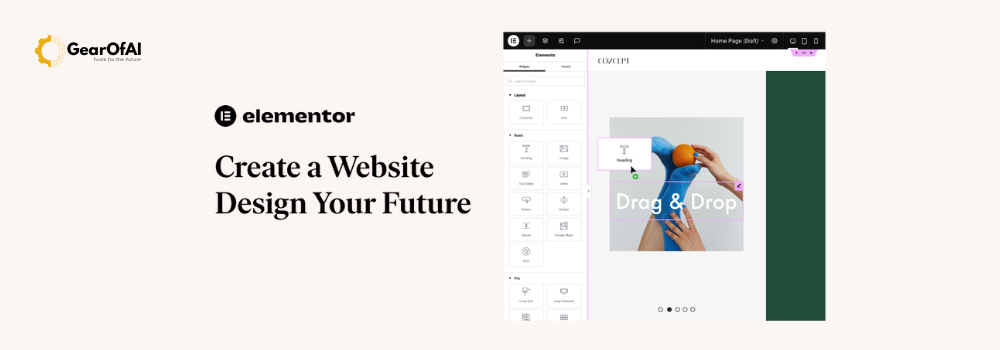
How to Customize Your WordPress Website Design with Elementor: Designing a website that truly represents your brand is easier than ever with WordPress especially when you’re using Elementor, one of the most powerful drag-and-drop page builders. Whether you’re running a business, a personal blog, or an online store, customizing your WordPress website design can help you stand out, engage visitors, and create a professional online presence.
In this guide, you’ll learn step by step how to customize your WordPress website design using Elementor, even if you have zero coding knowledge.
What is Elementor?
Elementor is a visual page builder plugin for WordPress that allows you to design web pages through a drag-and-drop interface. It eliminates the need to write code so anyone can create beautiful, responsive, and modern websites easily.
Key features include:
- Live visual editing see your changes instantly.
- Pre-made templates and blocks.
- Responsive design controls for mobile, tablet, and desktop.
- Integration with WooCommerce, forms, and marketing tools.
- Theme builder to edit headers, footers, and other global parts of your site.

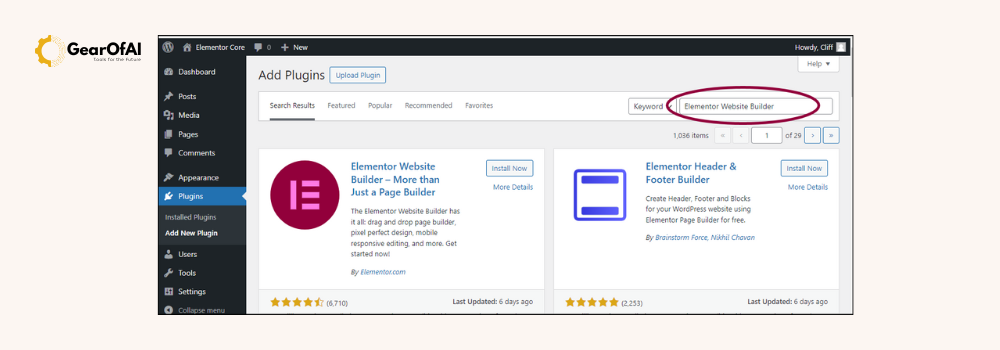
Step 1: Install and Activate Elementor
Before you begin customizing, you need to install the Elementor plugin.
- Log in to your WordPress dashboard.
- Go to Plugins → Add New.
- Search for Elementor Page Builder.
- Click Install Now and then Activate.
Once activated, Elementor integrates seamlessly into your WordPress site.
Step 2: Choose a Theme That Works Well with Elementor
Elementor works with almost any WordPress theme, but some themes are specifically optimized for it.
Recommended themes:
- Hello Elementor (lightweight and fast)
- Astra
- OceanWP
- GeneratePress
To install a theme:
- Go to Appearance → Themes → Add New.
- Search for your preferred theme.
- Click Install and then Activate.
Your theme sets the basic layout, colors, and fonts Elementor lets you customize everything beyond that.

Step 3: Create Your First Page in Elementor
Now that Elementor is ready, it’s time to start customizing.
- Go to Pages → Add New.
- Name your page (for example, “Home” or “About Us”).
- Click Edit with Elementor.
You’ll enter the Elementor editor, where you can visually drag and drop widgets (elements) to design your page.
Widgets include:
- Headings
- Text Editor
- Images
- Buttons
- Videos
- Forms
Each element can be styled in real time.
Step 4: Customize Layout and Structure
Your website layout defines how content is displayed on the page. Elementor uses sections, columns, and widgets:
- Sections: The main containers.
- Columns: Divide sections into parts.
- Widgets: Actual content like text, images, and buttons.
You can:
- Add new sections by clicking the “+” icon.
- Adjust column widths by dragging their edges.
- Use Navigator to easily move between elements.
👉 Code example:
<!-- HTML Layout Structure (Simplified) -->
<section>
  <div class="column">
    <h2>Welcome to My Website</h2>
    <p>Designed with Elementor and WordPress</p>
  </div>
</section>
Elementor automatically converts this type of structure visually, so you never need to code it manually.
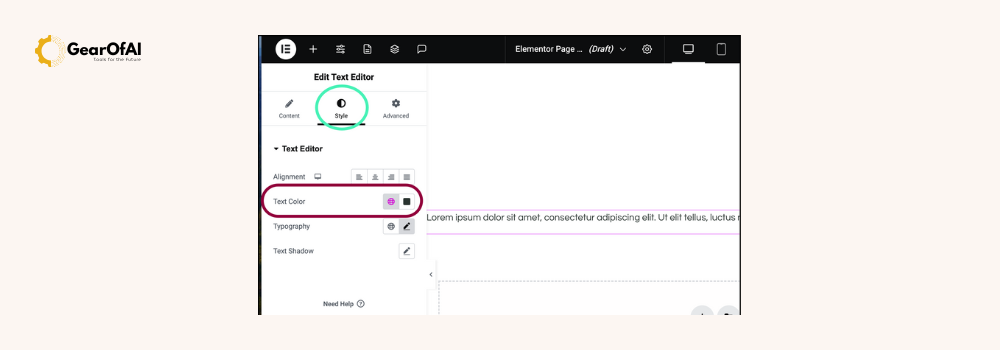
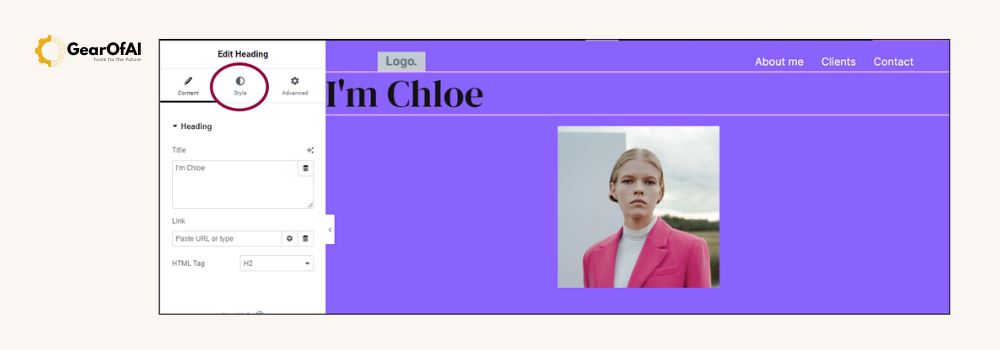
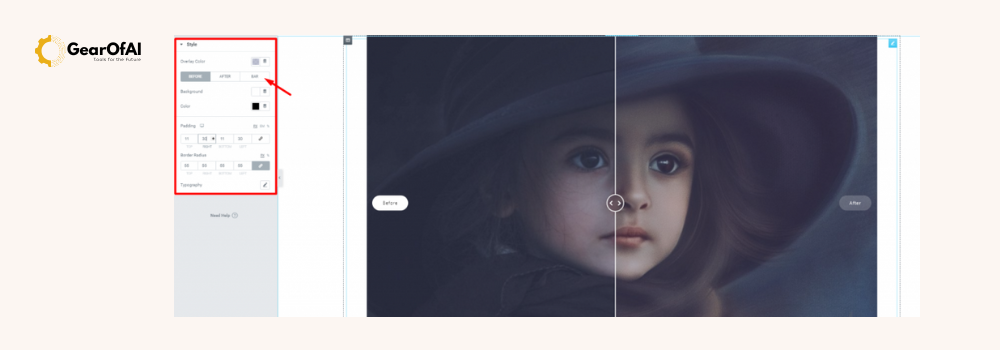
Step 5: Styling Text, Colors, and Fonts
In Elementor, every widget has a Style tab where you can change:
- Text color
- Font family
- Size and spacing
- Backgrounds
- Borders and shadows
For consistent branding, use Global Colors and Global Fonts.
Pro Tip:
- Choose no more than 2–3 fonts for a clean look.
- Stick to your brand’s primary colors.
Step 6: Adding Images, Videos, and Backgrounds
Visuals make your website engaging. Elementor lets you easily add:
- Images using the Image widget.
- Videos (from YouTube or uploaded files).
- Background images or videos for sections.
How to set a background image:
- Select the section.
- Go to Style → Background → Image.
- Upload your image and set Position, Size, and Overlay.
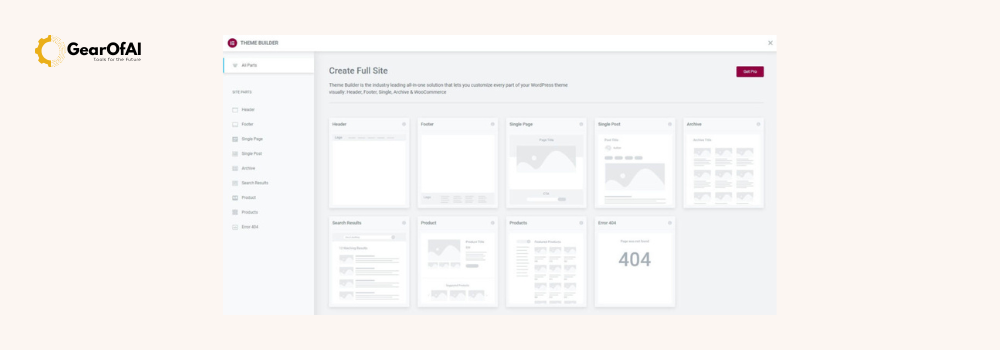
Step 7: Customize Headers and Footers (Pro Feature)
If you have Elementor Pro, you can design your site’s Header, Footer, and Blog layout using the Theme Builder.
Steps:
- Go to Templates → Theme Builder.
- Choose the area you want to design (Header/Footer).
- Add elements like logo, navigation menu, and social icons.
- Assign it to appear on entire site or selected pages.
Step 8: Make Your Design Responsive
Your site must look perfect on all devices. Elementor includes responsive editing tools.
To preview:
- Click the Responsive Mode icon (bottom left).
- Switch between Desktop, Tablet, and Mobile views.
You can adjust font sizes, spacing, or even hide elements on smaller screens.

Step 9: Add Essential Plugins for Functionality
Design is just one part of a website functionality is another. Here are some plugins that pair beautifully with Elementor:
- Yoast SEO – Optimize for search engines.
- WPForms – Add contact or sign-up forms.
- Smush – Compress images for faster loading.
- Elementor Addons – Unlock extra widgets and effects.
To install a plugin:
- Go to Plugins → Add New.
- Search for the plugin name.
- Install and activate.
Step 10: Preview, Test, and Publish
Once you’ve customized your design, it’s time to go live.
- Click Preview Changes to see how it looks.
- Test responsiveness on mobile and tablet.
- When satisfied, hit Publish.
Now, your custom designed WordPress site is live for the world to see!
Bonus Tip: Keep Your Website Consistent
A professional website is not just about design it’s about consistency:
- Stick to a defined color palette.
- Use the same button styles and font hierarchy across pages.
- Keep spacing and alignment uniform.
Final Thoughts
Customizing your WordPress website with Elementor is like giving your ideas a canvas no coding, just creativity. The best part? You have full control to change and experiment anytime.
Whether you’re creating a personal portfolio, business site, or online shop, Elementor gives you the freedom to design visually, responsively, and effectively.
📧 Contact us: If you need help with WordPress customization, reach out at info@gearofai.com.
🔗 Visit: GearofAI.com Your one-stop guide for AI, web design, and tech tutorials.