Table of Contents
Introduction:
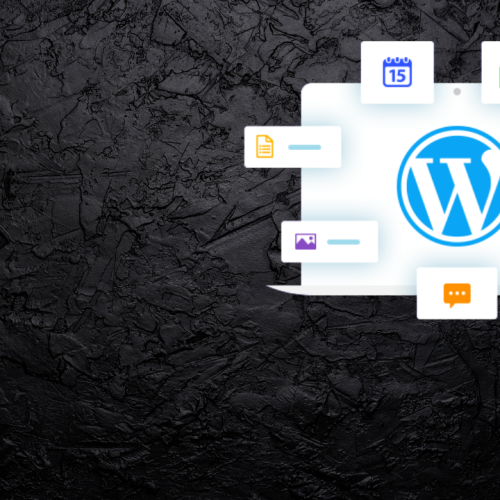
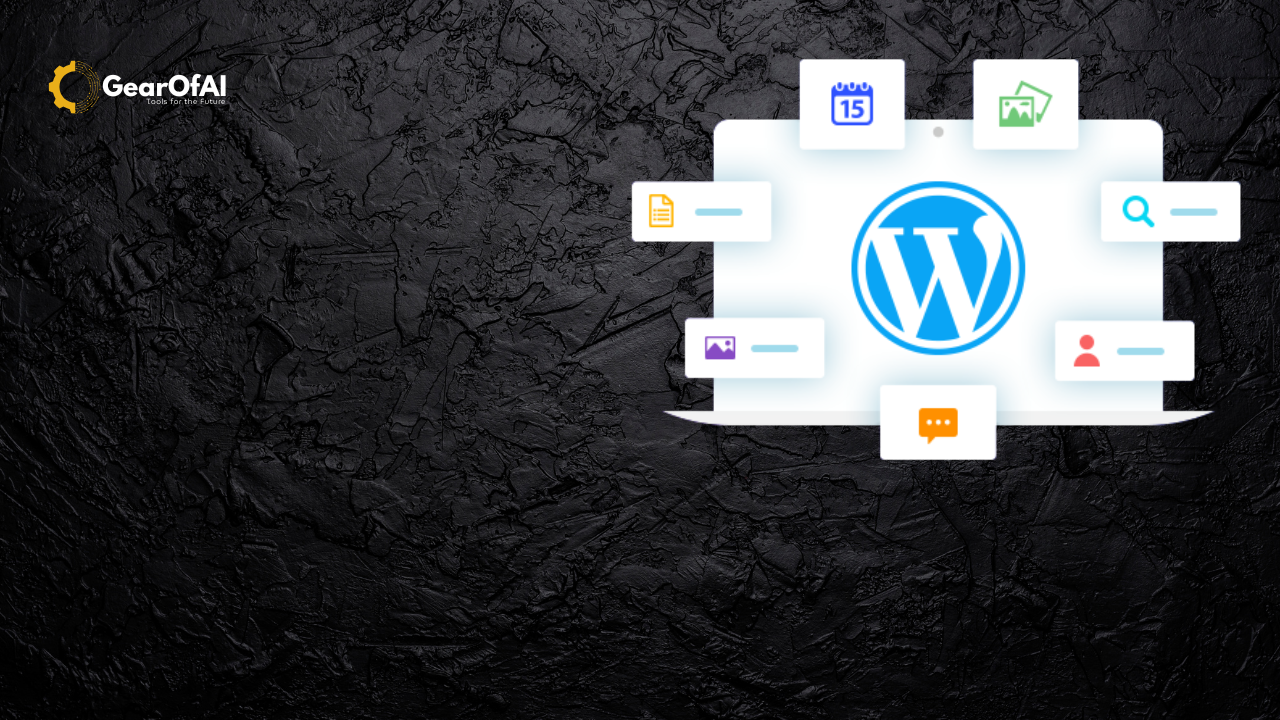
Understanding WordPress Widgets and Menus: When it comes to building a user-friendly and visually appealing WordPress website, widgets and menus play a vital role. They help you organize content, improve navigation, and create a better user experience without writing a single line of code.
In this detailed guide, we’ll explore what widgets and menus are, how they work, and how you can use them effectively to enhance your WordPress website.
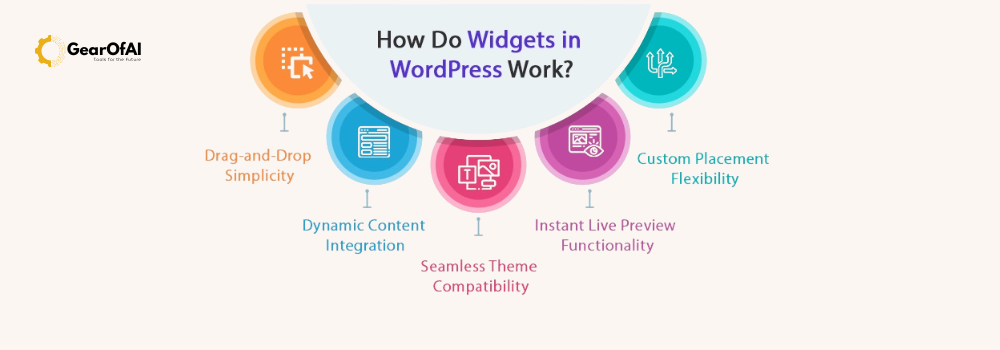
What Are WordPress Widgets?
Widgets are small content blocks that you can add to different sections of your WordPress website most commonly the sidebar, footer, or sometimes even the header area.
They allow you to add dynamic content and features like:
- Recent posts
- Search bars
- Social media links
- Contact forms
- Custom text or images
Think of widgets as building blocks that help you customize your website layout and functionality without any coding knowledge.
Common Types of WordPress Widgets
WordPress provides several default widgets, but you can also add more through plugins or themes. Some of the most commonly used ones include:
- Text Widget:
Used to add custom text, HTML, or shortcodes. - Image Widget:
Displays an image, such as your logo or a promotional banner. - Search Widget:
Adds a search bar so users can easily find content. - Recent Posts Widget:
Automatically lists your most recent blog posts. - Categories Widget:
Displays blog post categories, helping users explore content by topic. - Custom HTML Widget:
Allows you to insert custom code, like scripts or third-party widgets. - Navigation Menu Widget:
Lets you add a menu inside your sidebar or footer. - Social Icons Widget (from plugins or themes):
Displays social media profile icons for better engagement.
How to Add Widgets in WordPress
Adding widgets to your site is incredibly easy. You can do it from your WordPress dashboard or the Customizer.
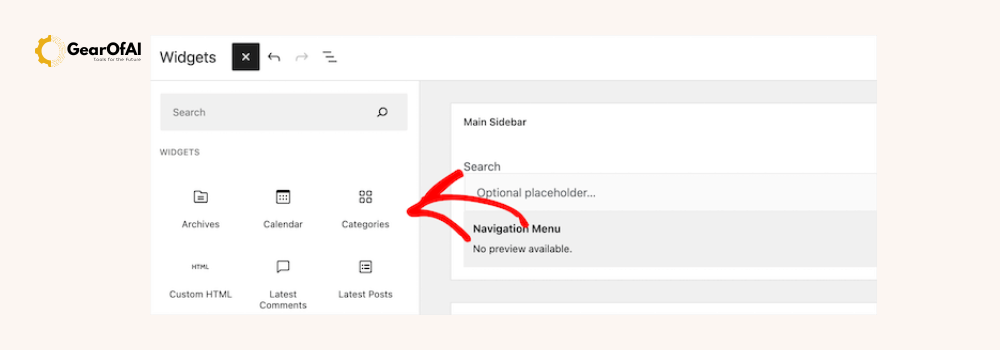
Method 1: Using the Widget Section
- Go to your WordPress Dashboard.
- Navigate to Appearance → Widgets.
- You’ll see the available widgets on the left and widget areas (like sidebar or footer) on the right.
- Drag and drop any widget from the left into your desired widget area.
- Customize its settings and click Save.
Method 2: Using the Customizer
- Go to Appearance → Customize.
- Select Widgets.
- Choose the area (e.g., Sidebar or Footer).
- Click Add a Widget and select from the list.
- Configure it, then click Publish to save changes.
💡 Tip: The Customizer lets you see live previews of your widget changes before publishing.
Customizing Widgets
Most widgets allow customization for example, you can:
- Change the widget title
- Adjust how many posts appear
- Add custom text or links
- Choose display conditions (via plugins like Widget Options)
If you’re using a page builder like Elementor or Block Editor (Gutenberg), you can even use widget blocks anywhere on your pages for greater flexibility.
What Are WordPress Menus?
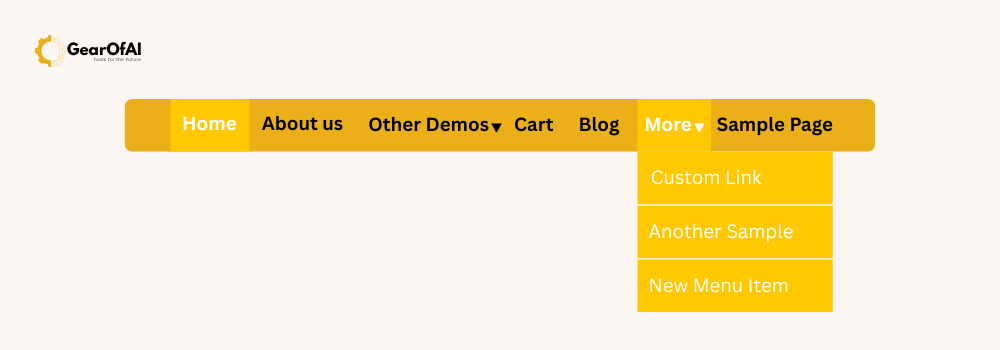
While widgets control content areas, menus control your website navigation.
A menu in WordPress is a list of links (usually at the top or bottom of your website) that guide users to key pages like Home, About, Blog, Contact, etc.
Good navigation is essential for user experience (UX) and SEO because it helps visitors and search engines understand your site’s structure.
Types of Menus in WordPress
- Primary (Main) Menu:
The main navigation bar at the top of your website. - Secondary Menu:
A smaller menu placed above or below the main one, often used for links like Login or Support. - Footer Menu:
Located at the bottom of your site, used for links like Privacy Policy or Terms & Conditions. - Sidebar Menu:
Used in blogs or e-commerce stores for category or product navigation. - Mobile Menu:
A responsive menu that appears on smartphones (usually as a hamburger icon ☰).
How to Create a Menu in WordPress
Here’s a step-by-step guide:
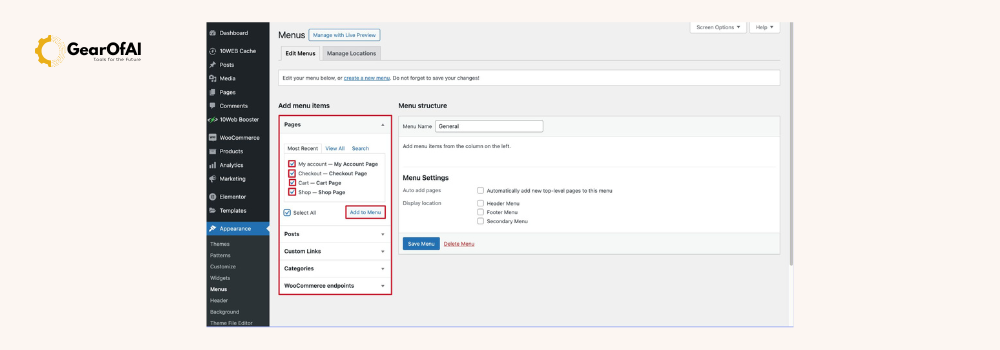
- Go to your WordPress Dashboard.
- Navigate to Appearance → Menus.
- Click Create a new menu.
- Enter a name (e.g., Main Menu) and click Create Menu.
- On the left, you’ll see pages, posts, categories, and custom links.
- Check the boxes for the items you want to include, then click Add to Menu.
- Drag and drop menu items to rearrange or create submenus (nested links).
- Under Menu Settings, select where you want this menu to appear (Primary, Footer, etc.).
- Click Save Menu.
You can also manage menus from Appearance → Customize → Menus to see live changes instantly.
Adding Dropdown Menus (Submenus)
To create dropdowns:
- Drag a menu item slightly to the right under another item.
- It becomes a submenu (child link).
Example:
Services
   ├── Web Design
   ├── SEO Optimization
   └── Digital Marketing
This helps organize complex websites neatly and improves user navigation.
Advanced Menu Features
With plugins and themes, you can enhance menus further:
- Mega Menus:
Used by e-commerce or large sites to display multiple columns of links.
Plugin example: Max Mega Menu or WP Mega Menu. - Sticky Menus:
Stay visible as users scroll. - Custom Icons:
Add icons next to menu items using plugins like Menu Icons by ThemeIsle. - Conditional Menus:
Show different menus to different users (e.g., logged-in vs. guest).
Linking Menus and Widgets Together
You can display menus inside widgets too:
- Go to Appearance → Widgets.
- Add a Navigation Menu Widget to your sidebar or footer.
- Choose an existing menu from the dropdown list.
- Click Save.
This is perfect for footer navigation or category-based menus.

Best Practices for Widgets and Menus
To get the most from these features:
For Widgets:
- Keep them minimal too many widgets can clutter your site.
- Use relevant widgets only (e.g., “Recent Posts” for blogs, not for landing pages).
- Ensure widgets don’t slow down page load time.
For Menus:
- Keep your menu simple and logical.
- Use clear, concise names for links.
- Avoid more than 6–8 top-level menu items.
- Ensure it’s mobile-friendly and easy to tap.
- Highlight the active page (many themes do this automatically).
Final Thoughts
Widgets and menus are two of the most powerful yet simple tools in WordPress.
- Widgets let you add dynamic, engaging features to your site’s layout.
- Menus ensure smooth navigation and an intuitive user experience.
Whether you’re a beginner or an experienced creator, mastering these two features will make your website more organized, professional, and user-friendly.
So, go ahead explore your WordPress dashboard, experiment with widgets and menus, and start designing a website that not only looks good but works beautifully too!
External Link:
Website: gearofai.com
Contact: info@gearofai.com